I recently had to clean and reset my DS computer and thought I’d share my version of a data science environment setup.
I’ve been using this setup for many years (roughly 5 or 6 years - with tweaks and/or improvements here and there) but I’ve never exhaustively documented it.
So hopefully this will help someone out there setting up their computer with what they need to start working on DS projects.
I’ll try to update this article, as much as I can, if anything new emerges.
Hardware
- RAM: well, the bigger the better obviously; so if you can afford 32GB RAM, then go for it. Otherwise, 16GB will do fine. For students out there who might come across this article, please know that you can work with 6GB or 8GB RAM and you’ll be fine. It won’t limit your learning. Plus, to save money, you can buy a computer and change the RAM later after you save up some (so always go for computers that offer this option)
- Processor: at least go for i5 with 4 cores - you’ll need to parallelise processing your jobs to save up time.
- GPU: only for deep learning jobs. I think a 4GB RAM is enough to start. (Note: you might benefit from researching a bit about NVIDIA
- An SSD. Never paid attention to this, but I felt the difference when I compared working on a HDD vs SSD. Never going back ! Again, choose a computer that offers the option of upgrading its hardware capabilities when you can.
OS
I would highly recommend working with a linux distro. I personally usually go with the latest stable ubuntu version.
You’ll find many articles on the subject of OS comparison for data science; I recommend reading a couple to get an idea. The winning argument for me, is that it’s straightforward, more practical, and the closest to production (most prod servers run linux, so might as well stay consistent)
I also recommend reading about the pros and cons of using linux distros.
Software
Terminal
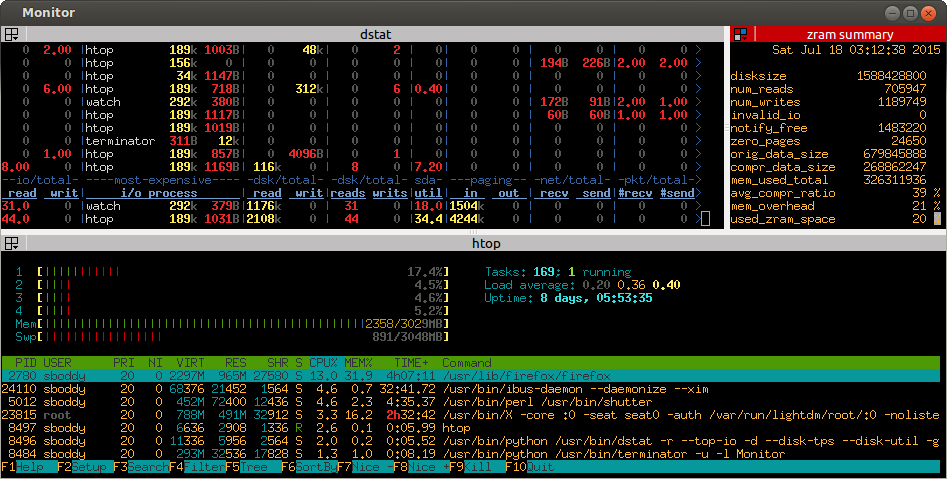
If you want to spice up your terminal experience and level it up then I suggest you give Terminator a try. It allows you to open multiple windows, rename tabs, and display commands in different windows at the same time. I find it most useful when I want to keep an eye on different things at the same time.
(example in photo below, credits to Terminator)

Docker
Docker will allow you to access multiple images through docker hub. So instead of installing multiple tools locally and managing dependencies and packages, all you’ll need to do is fire up a container and work on your task/project.
Docker desktop is pretty cool as well, in that you can get a panoramic view of all your containers and images, manage and monitor them and get a clean look at their logs.
Git / GitHub or Bitbucket
If you want to easily track your changes and delegate or the version control work to a tool, then git is your friend. All you’ll need is add a .git file and all that “soupy” metadata will be handled by Git.
You can create and host your own private or public repositories (basically folders with .git files) in GitHub or Bitbucket. This will also help you collaborate more swiftly with others.
JetBrains IDEs
JetBrains teams offer multiple products for developers. So depending on the language you’re using (at least the popular ones), you’ll be covered. My recommendation here is to install Idea if you work with or want to learn Scala, and GoLand if you work with or want to learn Go.
I also tried DataGrip, for databases, and it’s pretty cool !
Instead of installing each product separately, you can install the JetBrains Toolbox App (I highly recommend it) and let it help you install and manage your JetBrains products and eventually the projects you’ll work on using those products.
VS Code
One of my favourite code editors out there ! it’s open-source, simple, minimal, comes with extensions, and cross-platform.
It’s no surprise it’s been monopolising the first place for a couple of years of the StackOverflow developers survey.
Conda
Conda handles packages, libraries and environments for multiple languages (R, Python, Scala, Ruby, and more)
Conda comes in two “versions”: Anaconda and Miniconda. Grossomodo, the idea is that Anaconda is meant to be holistic, while Miniconda is meant to be minimal. In my opinion, if you’re installing Conda locally then go for Miniconda.
If you’re working with Ubuntu, One thing to pay extra attention to is to not touch the python that comes with the system. It’s a nightmare to reverse it ! always create new environments using Conda before working with Python. Personally, I recommend containerising your projects or applications in order to avoid thinking about this altogether.
VirtualBox
VirtualBox allows you to run virtual machines inside your current OS. In my case, because I use Ubuntu, it helps me run softwares like Tableau and PowerBI.
Although it’s very useful, I don’t recommend installing it if your hardware is not optimal, as it can be very consuming.
For dashboarding alternatives, I personally recommend Metabase, Kibana or Graphana.
Closing Notes
Like I mentioned in the intro, I’ll keep this article open in case of changes. I’ll think about how to do the versioning when we get there !
Subscribe on Substack
We publish some of our articles on substack so you can easily get the latest articles on your inbox.